To add an employee's details to the portal, click "Add Employees" from the Dashboard, "Add Employee" from the Admin->Employees menu or click the Add Employee menu item from the More (...) menu on a department in the Org Chart. You should see a screen that looks like this:
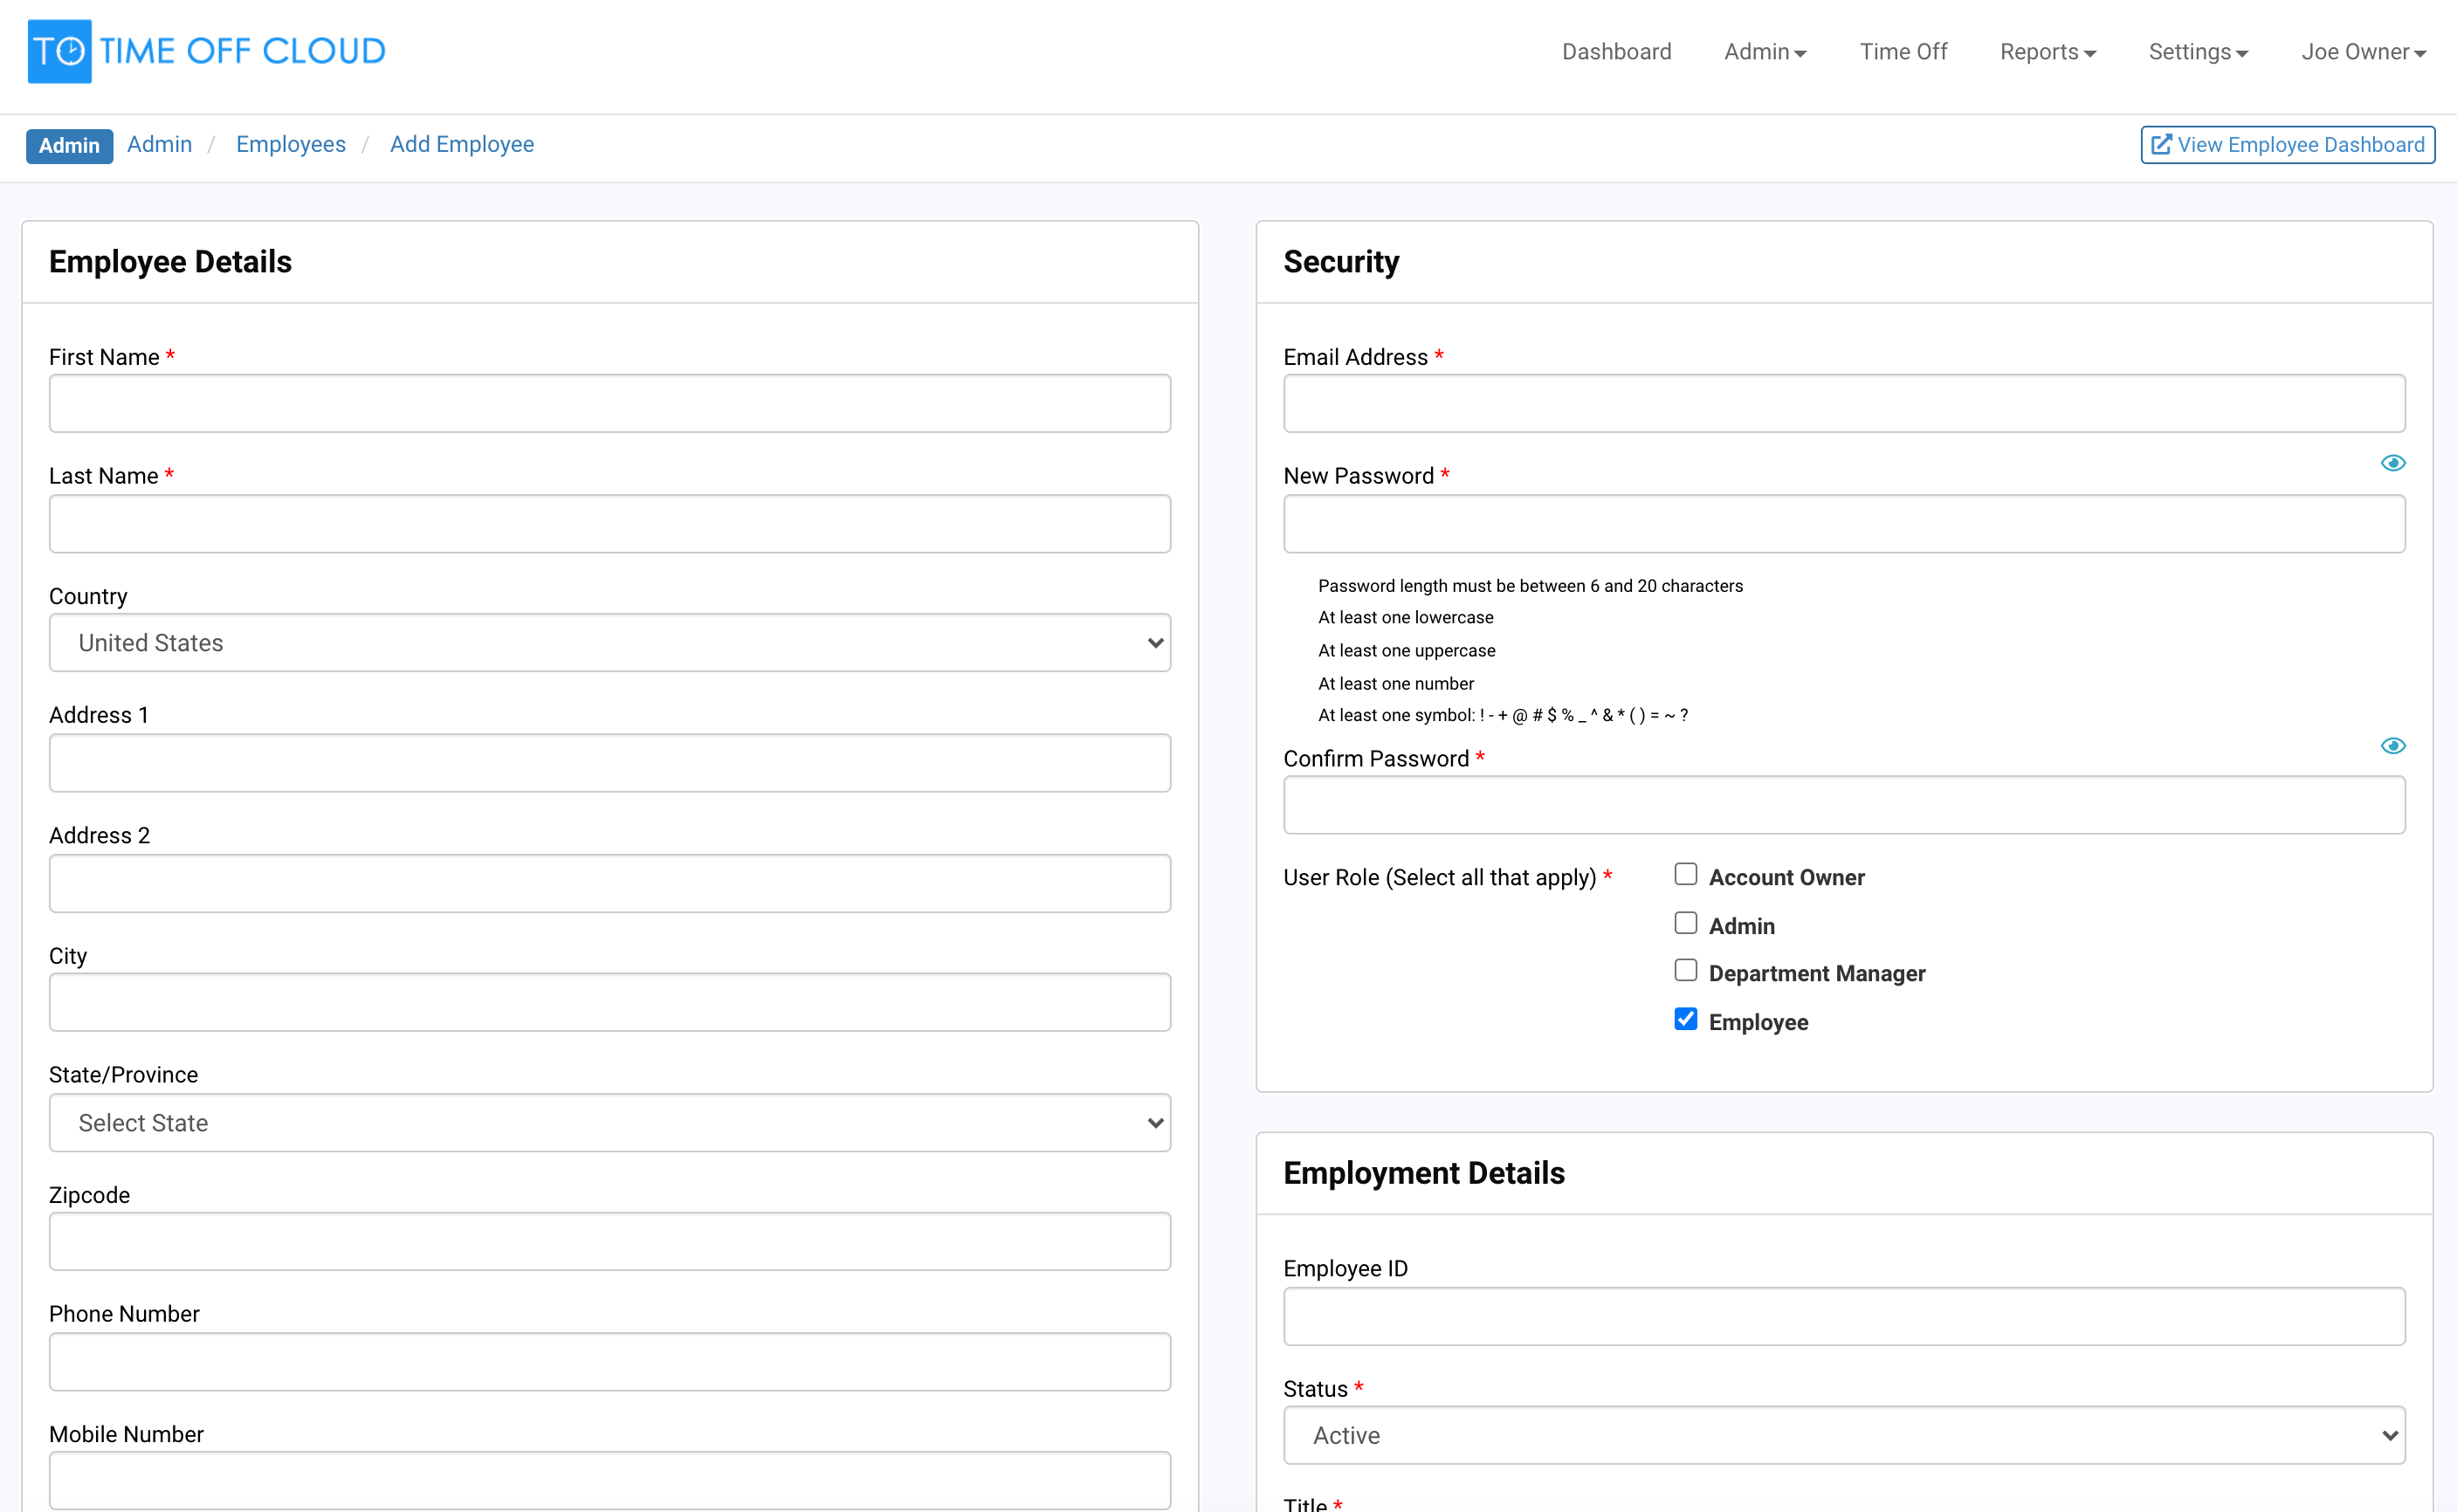
Enter all required (*) information.
Take special note of the "User Role" section. This portion is especially important because it will decide who can see which employees' information, as well as who will receive the Time Off requests from employees. Learn more about User Roles >
**Every department must have at least one designated Manager to whom the Time Off Requests will be submitted. One person CAN be designated as Manager of multiple departments.**
You will create a temporary password for each employee, which they will be prompted to change in their Welcome Email. The temporary password does not need to be provided to the employee and is only used for administrative testing. When complete, click "Add" and you will be prompted to have the Welcome Email sent to the employee. Click "Yes" so they can set up things on their end.
You should now be viewing the Employee page.
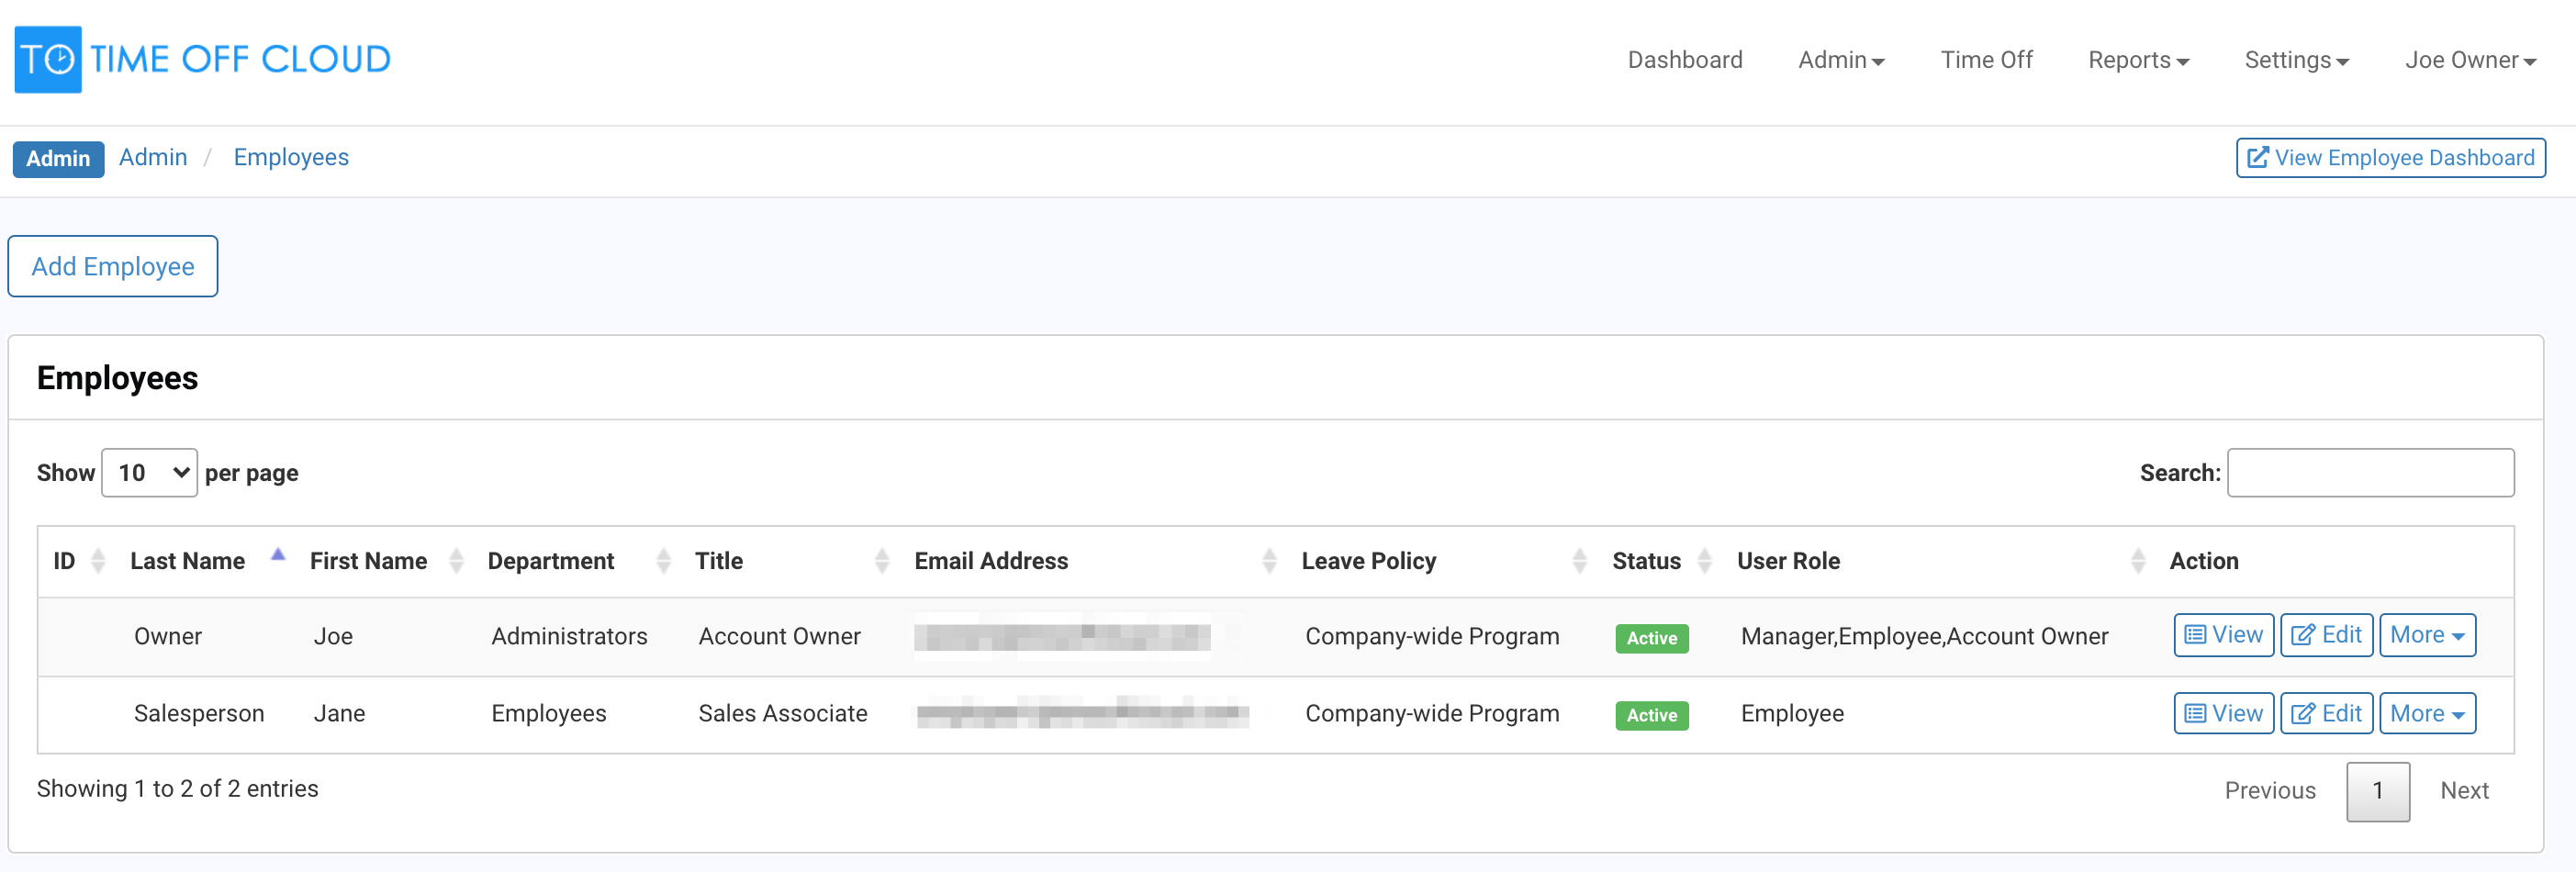
From here, we can choose to add more employees by clicking "Add Employee." Continue repeating this process until all employees have been entered into the system.
Please note: When creating the Time Off Cloud account, the Account Owner was added to the Administrator and Employee departments and made a manger of both.
Next Setup Step >