Step-by-Step Instructions
You can have many Leave Policies. Generally, a company will have one, two or three. In this step, we are going to configure each desired Leave Type or leave category within the Leave Policy. From the Dashboard, click on Step 1: Setup Policies, and you will see that your first Leave Policy setup has been started for you!
For our example, our Widgets LLC company has one Leave Policy. We get 10 vacation days per year, and it accrues at the beginning of each month. If we don't use the time, it rolls over to the next year. Here is how we would set it up:
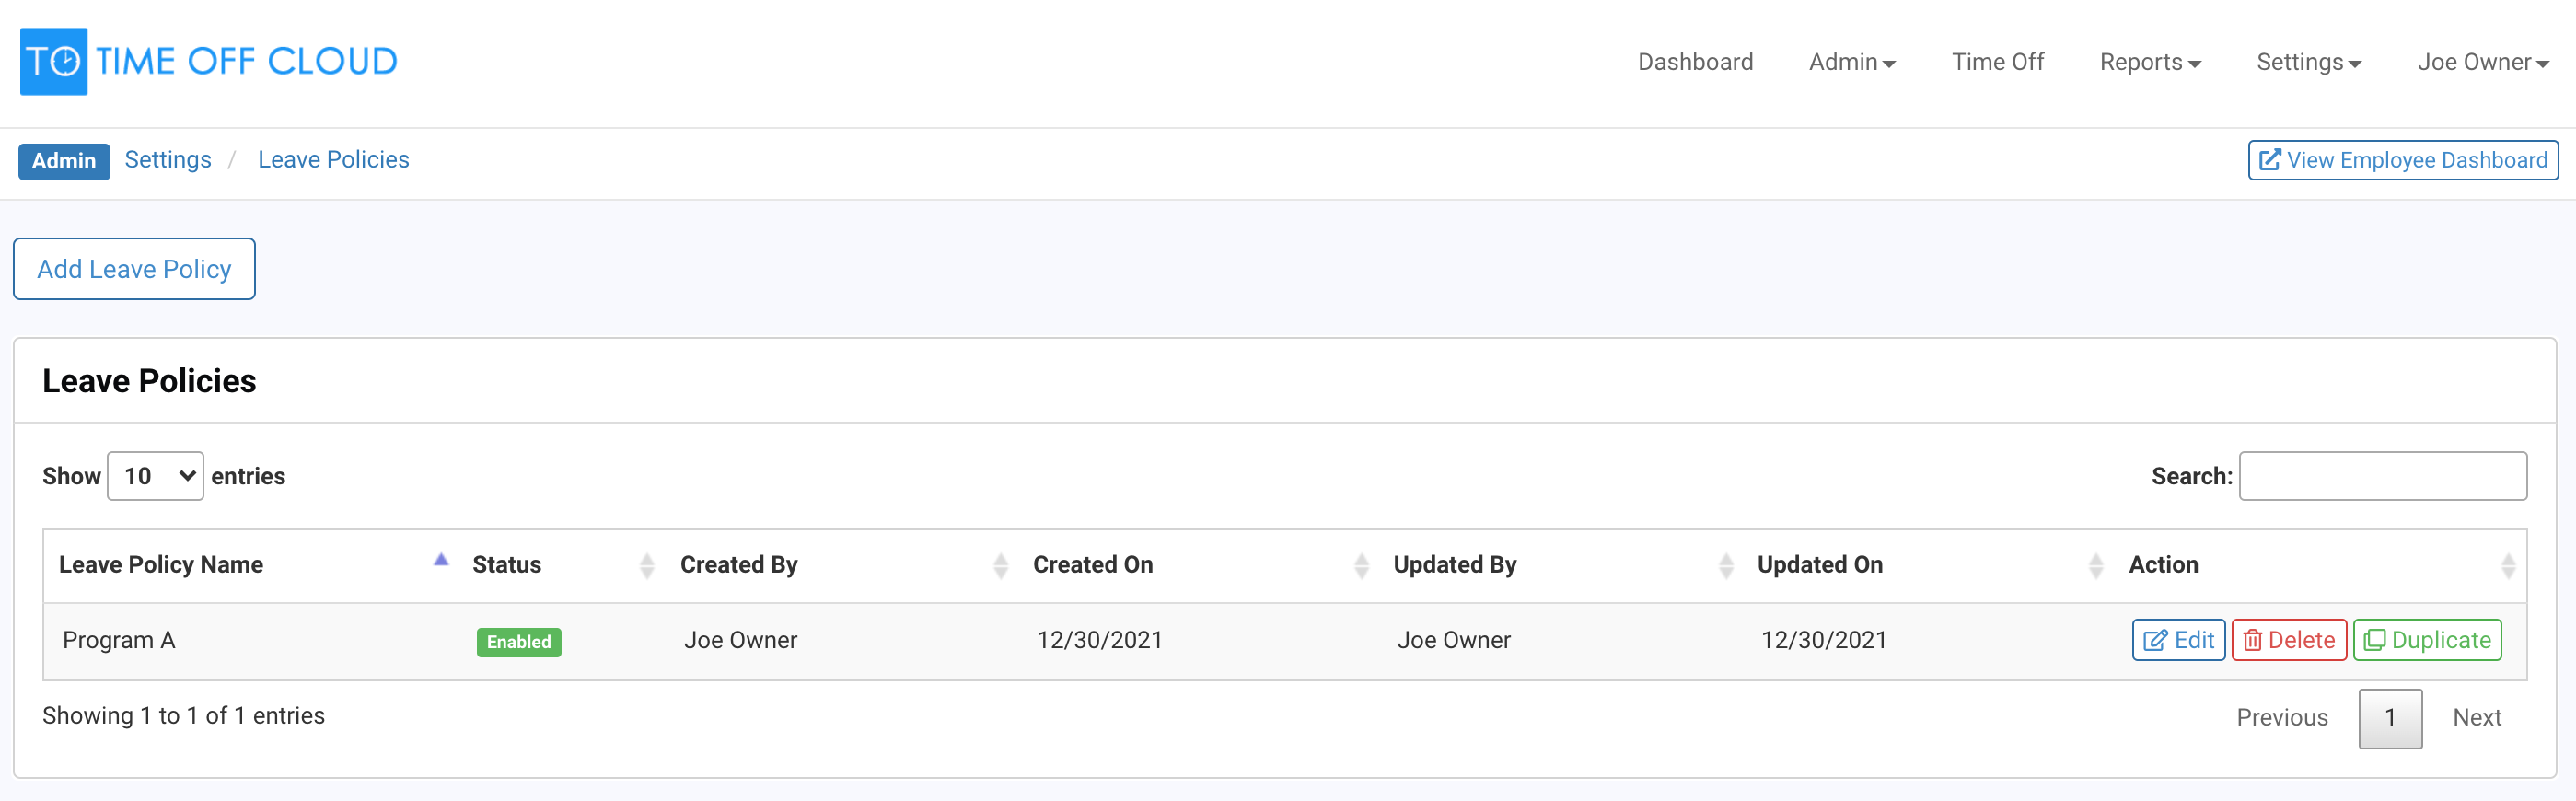
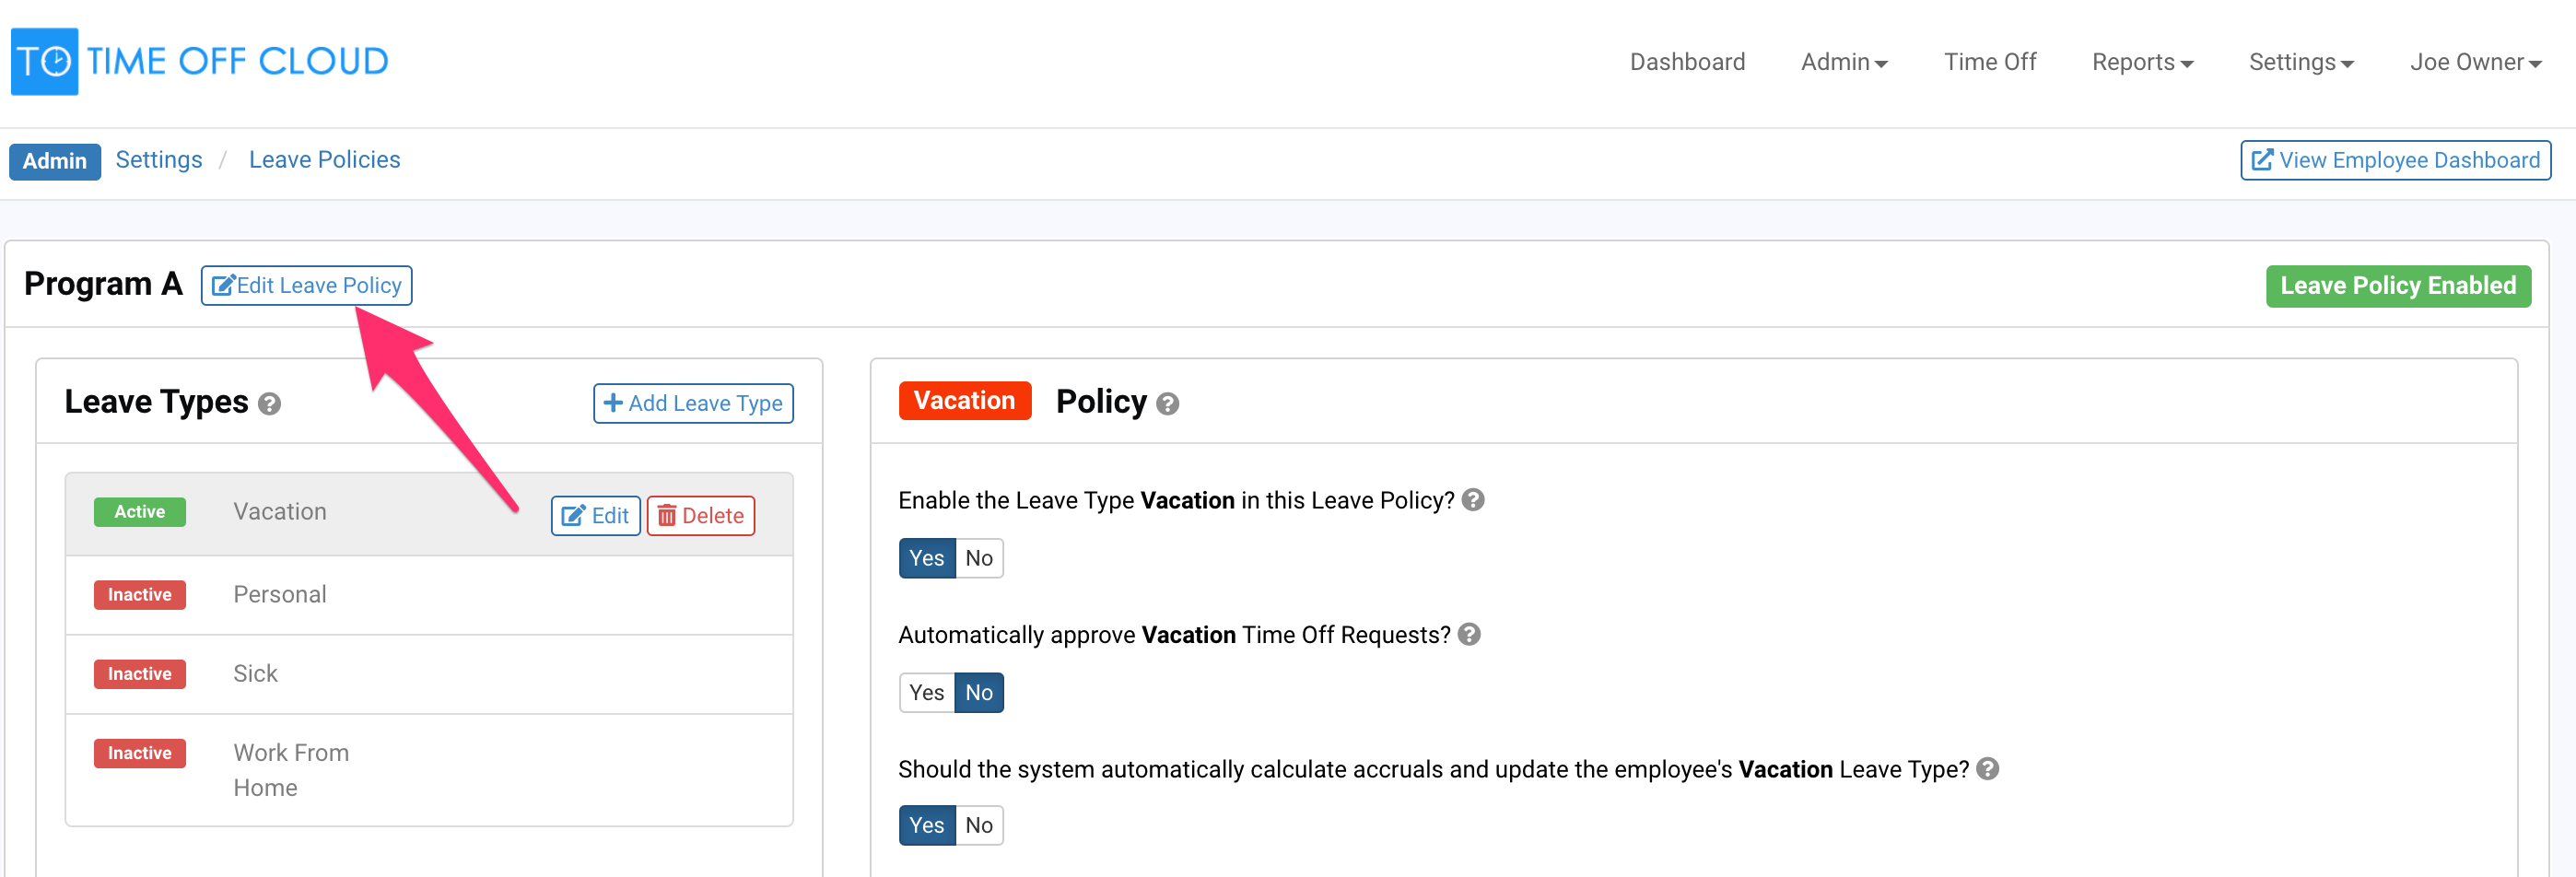
Click the blue "Edit" button on Program A that has been setup for you. On this screen, you will have the ability to customize the policy name as well as setting the automatic assignment options. Click the Edit Leave Policy button next to the Program A name:
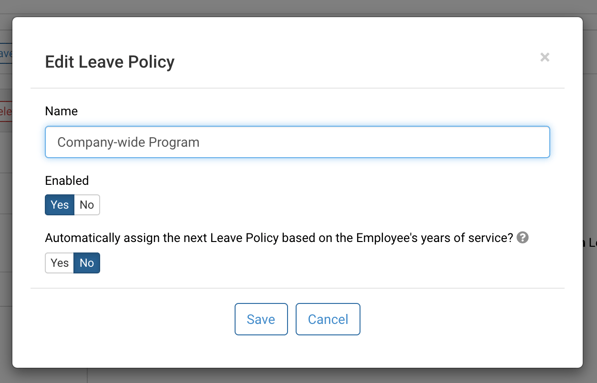
This will display a box where you can change the Leave Type name to whatever you choose. We will rename ours "Company-wide Program."
If you have more than one Leave Policy you can enable the option to automatically assign the next Leave Program to an employee after they have been with the company for a configurable number of years based on their Hire Date.
To do this, Switch "Automatically assign the next Leave Policy based on the Employee's years of service?" to Yes. Select an existing Leave Policy to assign and enter the number of years after the Employee's hire date to assign the policy.
Note that the Leave Policy change will occur during the Accrual Year Close process and accruals will not be calculated for a partial year on different Leave Policies.
For now we will leave this option set to no since we only have one Leave Policy.
Click Save to save the changes.
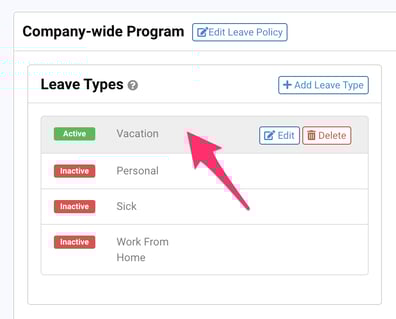
We can now configure the policy for each Leave Type that we want enabled in the Company-wide Program.
Click on the Vacation Leave Type on the left and the policy configuration will be displayed on the right.
Now, there is a series of easy questions that you need to answer to configure the policy to your company's exact specifications. First we will complete the Leave Type Vacation.

Choose Yes or No - Enable the Leave Type Vacation in this Leave Program? If set to Yes, this Leave Type will be available to the employees which have this Leave Program assigned. Choose No if your company's Leave Policy does NOT offer Vacation days.
Choose Yes or No - Automatically approve Vacation Time Off Requests? If set to Yes, employee Vacation Time Off requests will be automatically approved. Choose No if you want a manager to have to approve requests.
Choose Yes or No - Should the system automatically calculate accruals and update the employee's Vacation Leave Type? If set to Yes, accruals will be calculated and tracked for this Leave Type. If set to no, employees can use time but accruals will not be calculated.
What are the total number of days/hours that the employee accrues in a year? Our Widgets LLC company has 10 vacation days a year, so we will input 10 Days.
How often does the employee accrue time from the yearly total? Click on the arrows to see a drop down box that you can choose from. Widgets LLC accrues time at the beginning of each month, so that is the option we choose.
Chose Yes or No - Should the system carry over negative accrual balances as Borrowed at the end of the year. If Yes, and an employee has a negative available balance when the Accrual Year is closed, this time will be Borrowed from the following year and will decrease the available balance. If No, the negative balance will not be carried into the following year.
Choose Yes or No - Can time be rolled over to the following year? If set to Yes, some or all of an employee's unused Time Off will be rolled over into the following Accrual Year. Widgets LLC allows this, so we choose Yes in our example.
Choose Yes or No - Is there a maximum number of days/hours that can be rolled over? If set to Yes, you will need to set the maximum number rollover days or hours allowed. Widgets LLC has no maximum, so we choose No.
Choose Yes or No - Does the rolled over time expire? Set to Yes if you want to choose a date when the employee's unused rolled over time will expire. Widgets LLC's rolled over vacation time does not expire, so we set this to No.
Choose Yes or No: Is there a maximum amount of time an employee can accrue? By choosing Yes, you set the maximum amount of time an employee can have in an Accrual Year. This includes accrued time, rollover time, and manually adjusted time. Choosing No will indicate that there is no maximum. Widgets LLC allows a total of 20 days to accrue, so we choose Yes and set the Maximum accrued days/hours to 20 Days.
After answering these questions, click the Save button at the bottom of the screen. You will be alerted that your Leave Type Policy was successfully saved, and you can scroll back up to the list of Leave Types to continue your configuration.
Repeat these steps with Personal, Sick and Work From Home, enabling the types to want, and leave the others disabled. You will notice that the enabled types will have a green Active indicator next to them, while the disabled types will have a red Inactive indicator.
To change the name of a Leave Type click the Leave Type and then click the Edit button on the right side of the Leave Type.
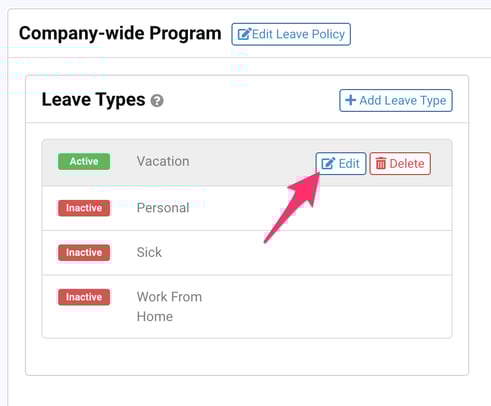
You will see the following window that will allow you to change the Name and Color of the Leave Type. Note that these changes will be reflected in all Leave Polices.

You can create new Leave Types by clicking the Add Leave Type button as shown below
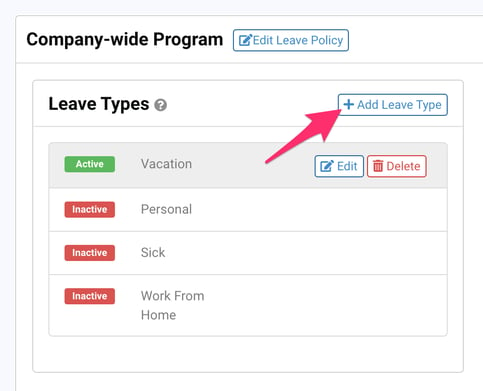
This will bring you to a window that will allow you to add a new Leave Type
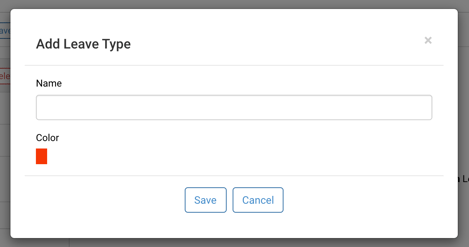
Enter your new Leave Type's name and select a color then click Save.