Step-by-Step Instructions
From the Dashboard, clicking the Admin->Org Chart menu will take you to a screen that looks like this:
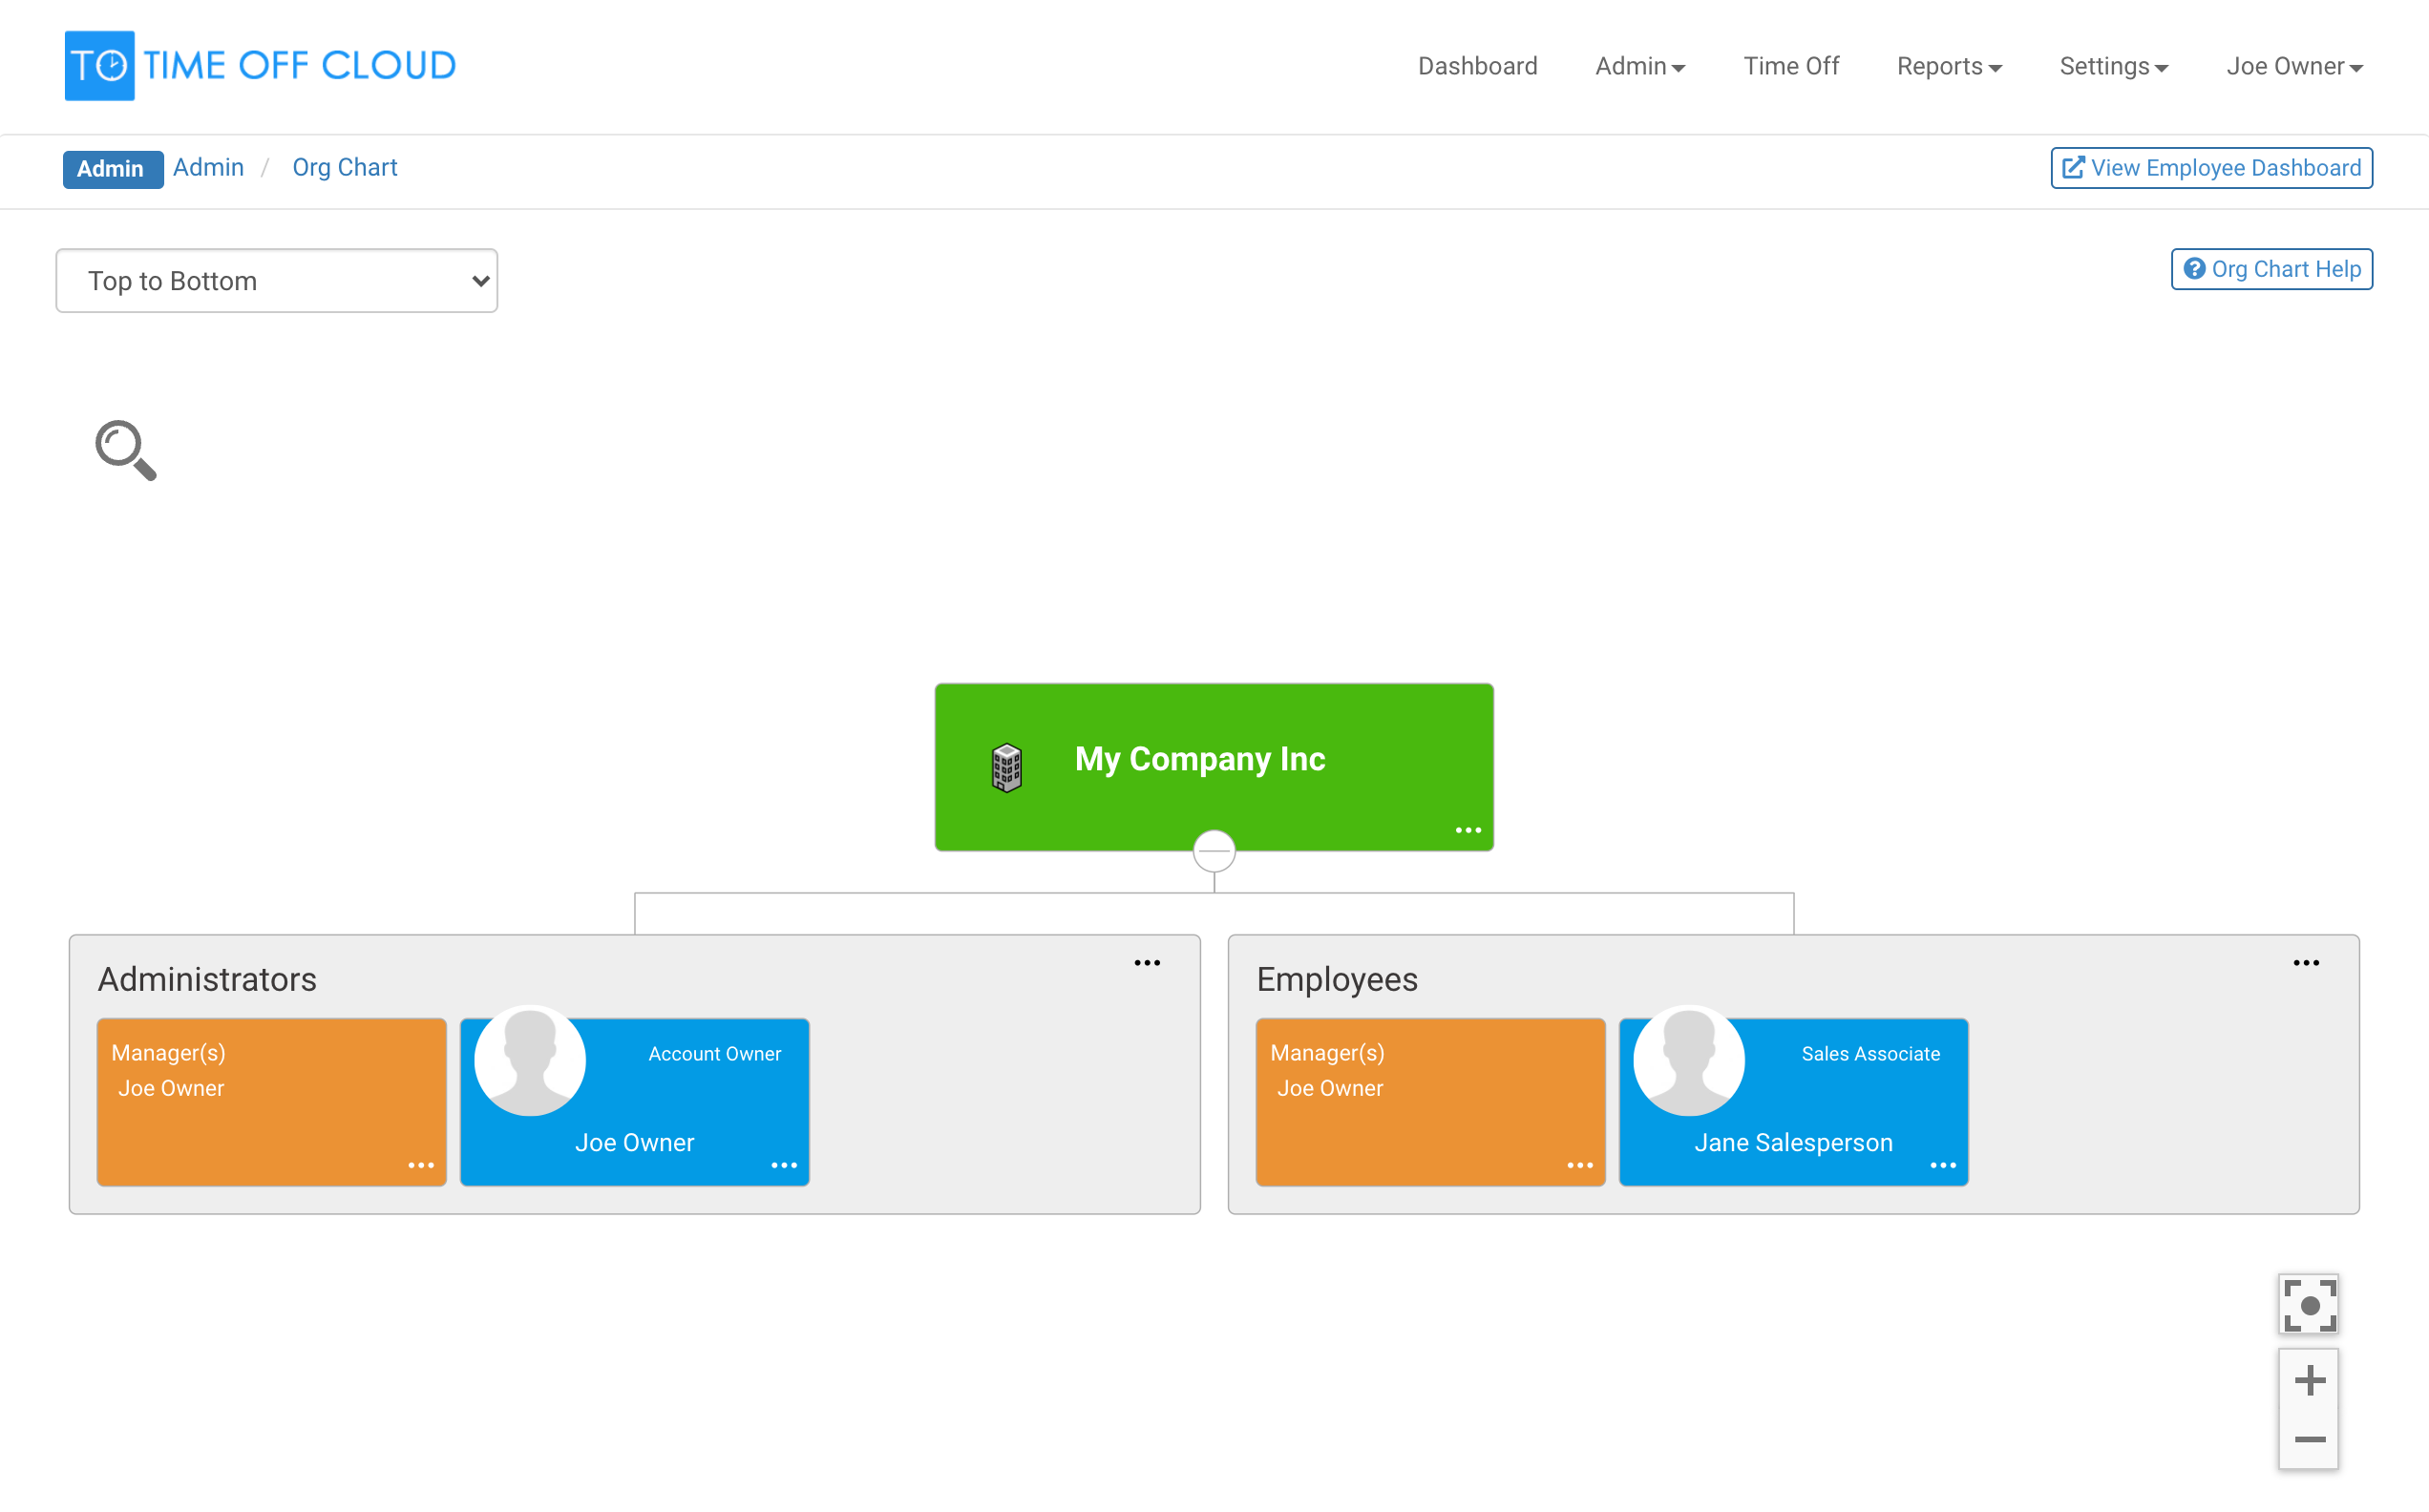
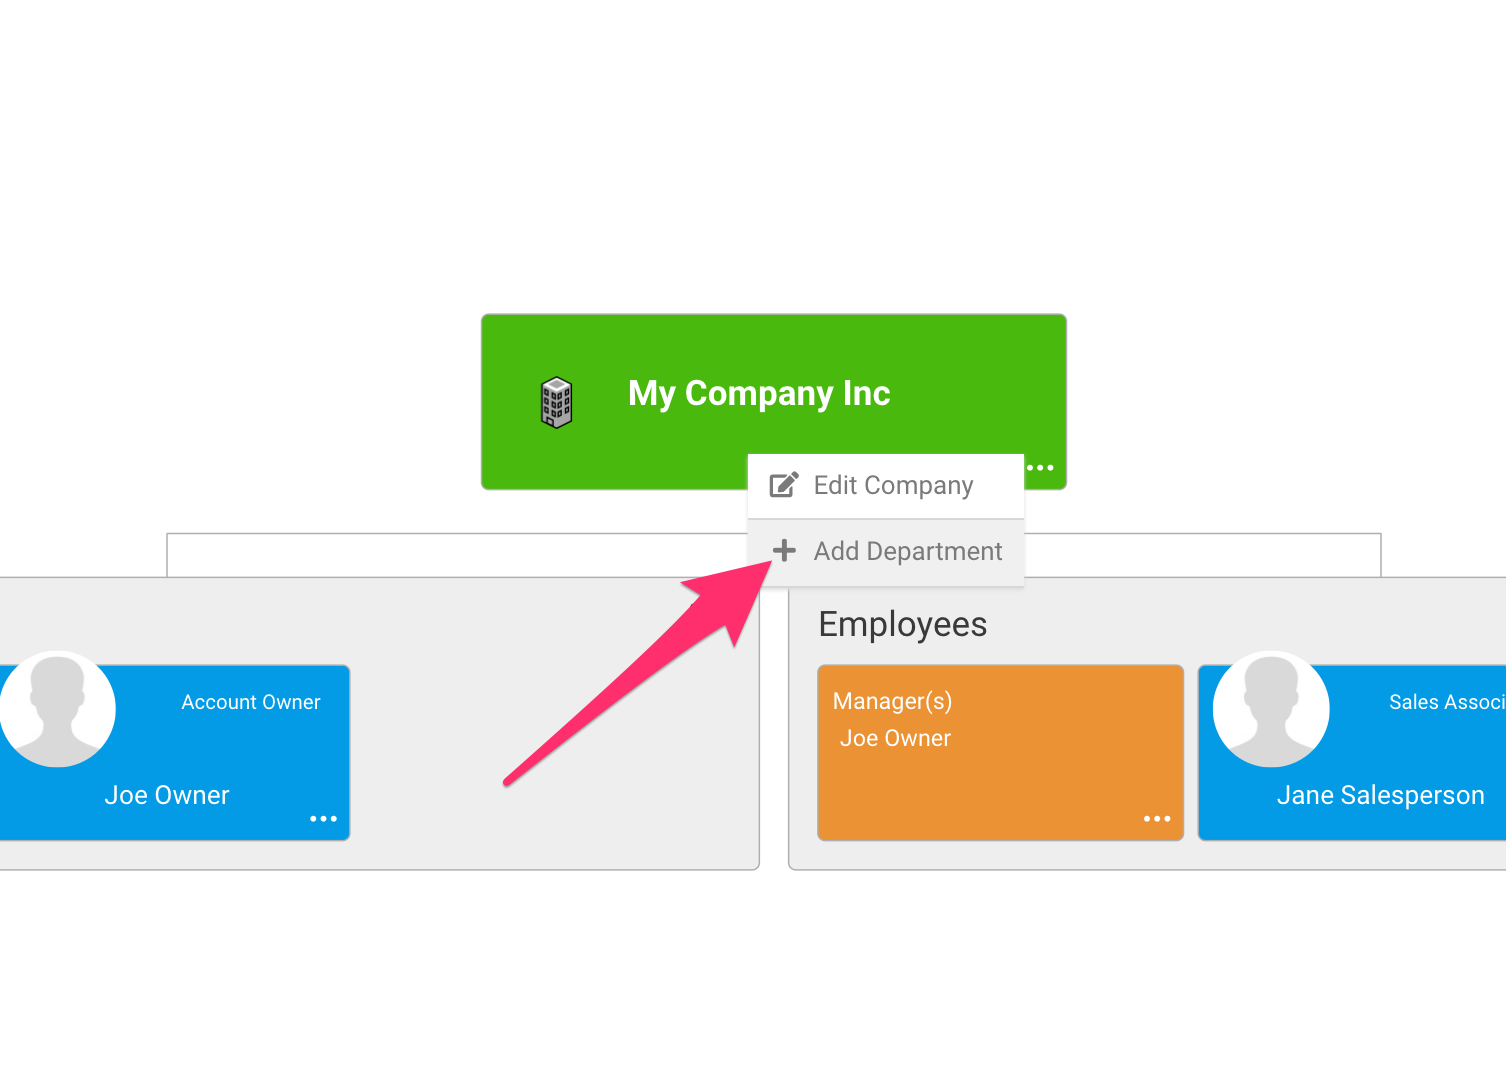
As you can see, we started the process for you! We created Administrators and Employees departments and added the Account Owner to both. Notice that the Account Owner is also a Manager of each department. In our example company we have also added an employee to the Employees Department. Now we will add a couple departments to our sample company together. Click Add Department from the More (...) Menu on the My Company Inc box:
This will display a popup window that will allow you to enter a new department:
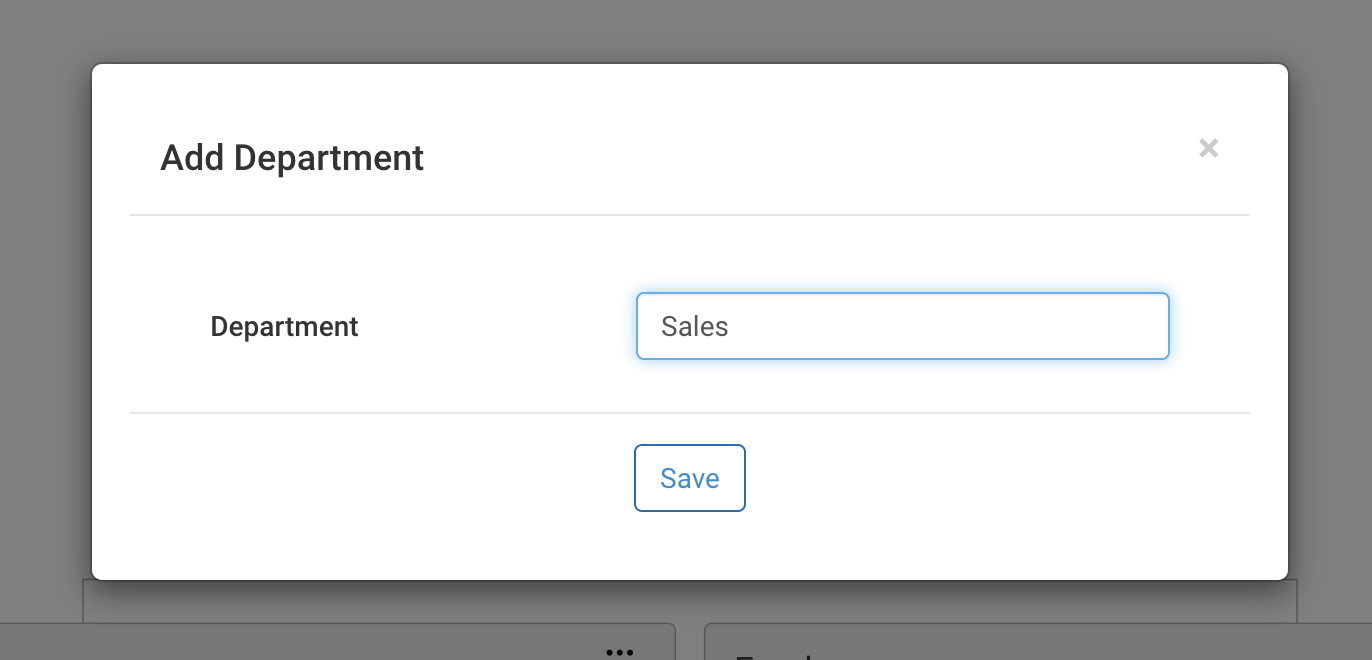
Simply enter a department name & click "Save." We have entered a Sales Department.

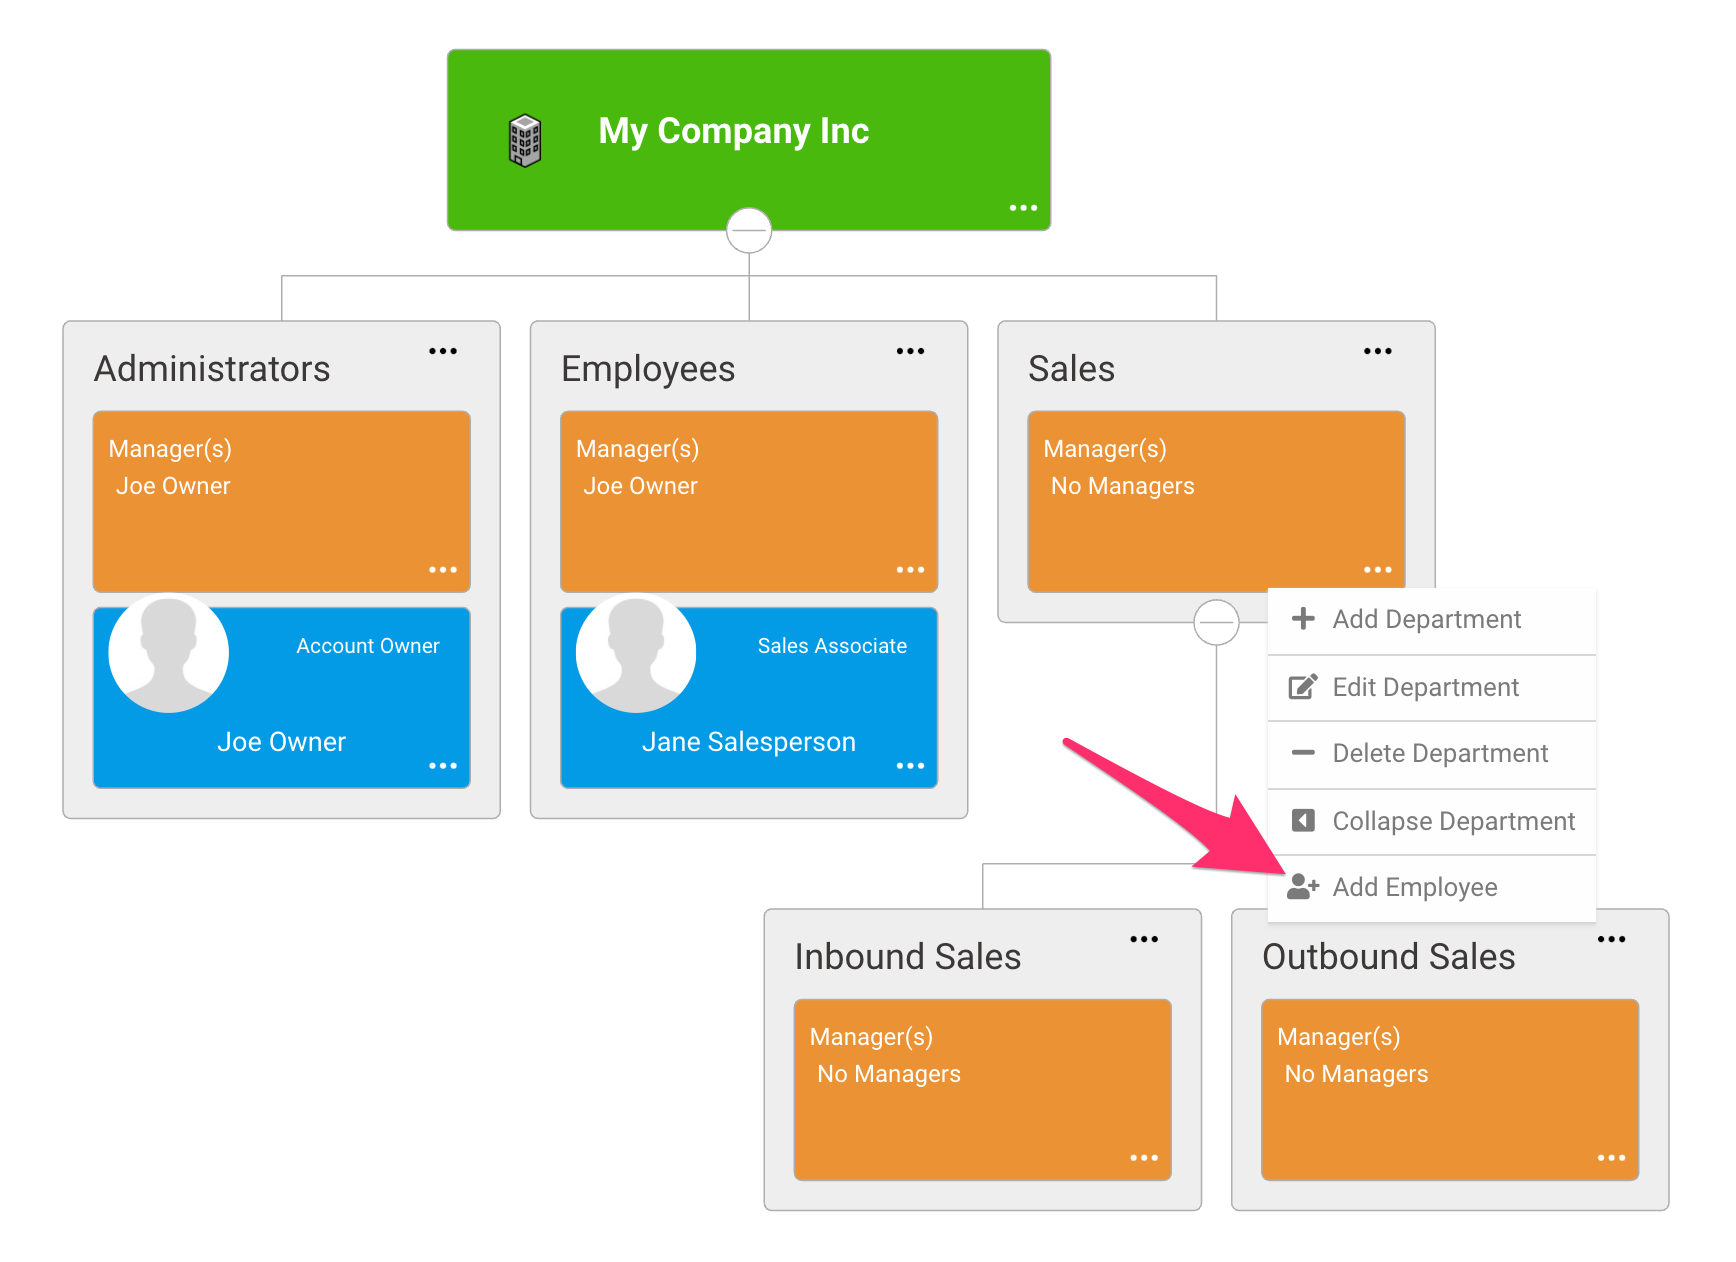
From here, you can add a department to the Company like the example above, or you can add a Child Department to an existing department. For example, in our My Company Inc, "Sales" has two sub departments: Inbound Sales and Outbound Sales. Each of these departments has a manager and several salespeople. To add these "child" departments we click the "Add Department" menu item from the More (...) menu on the Sales department.
This will display a popup window that will allow you to enter the new child department. Input this information then click "Save."
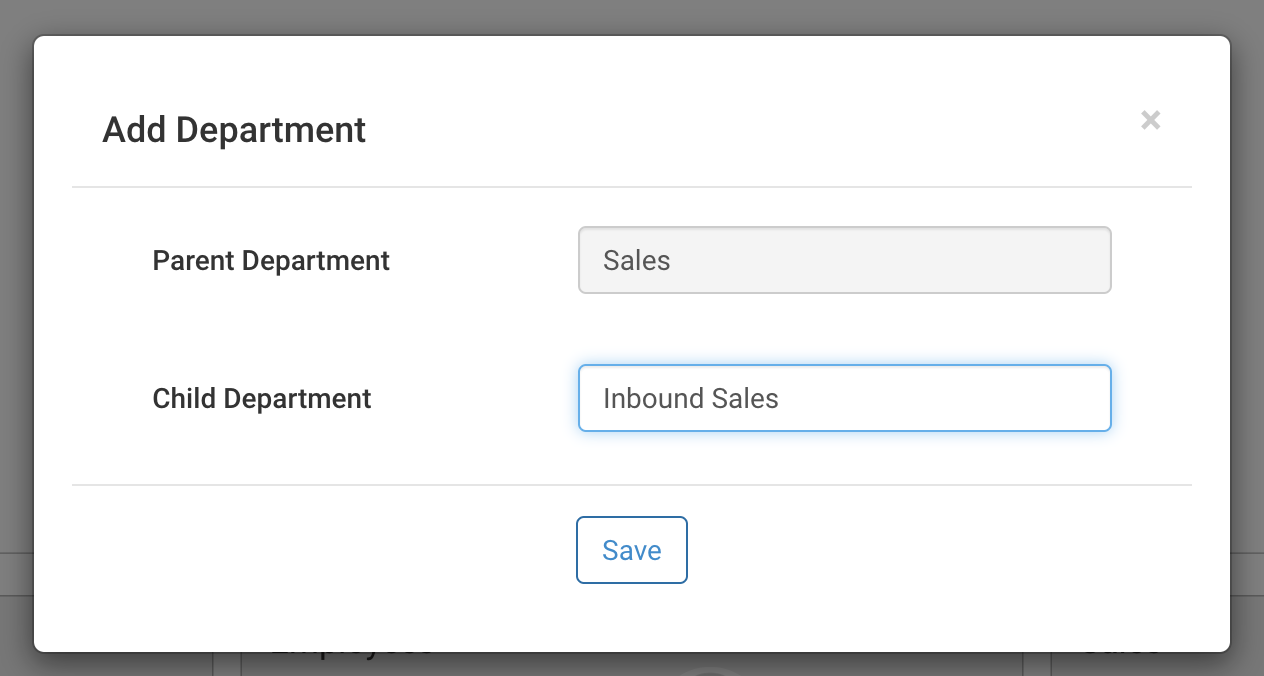
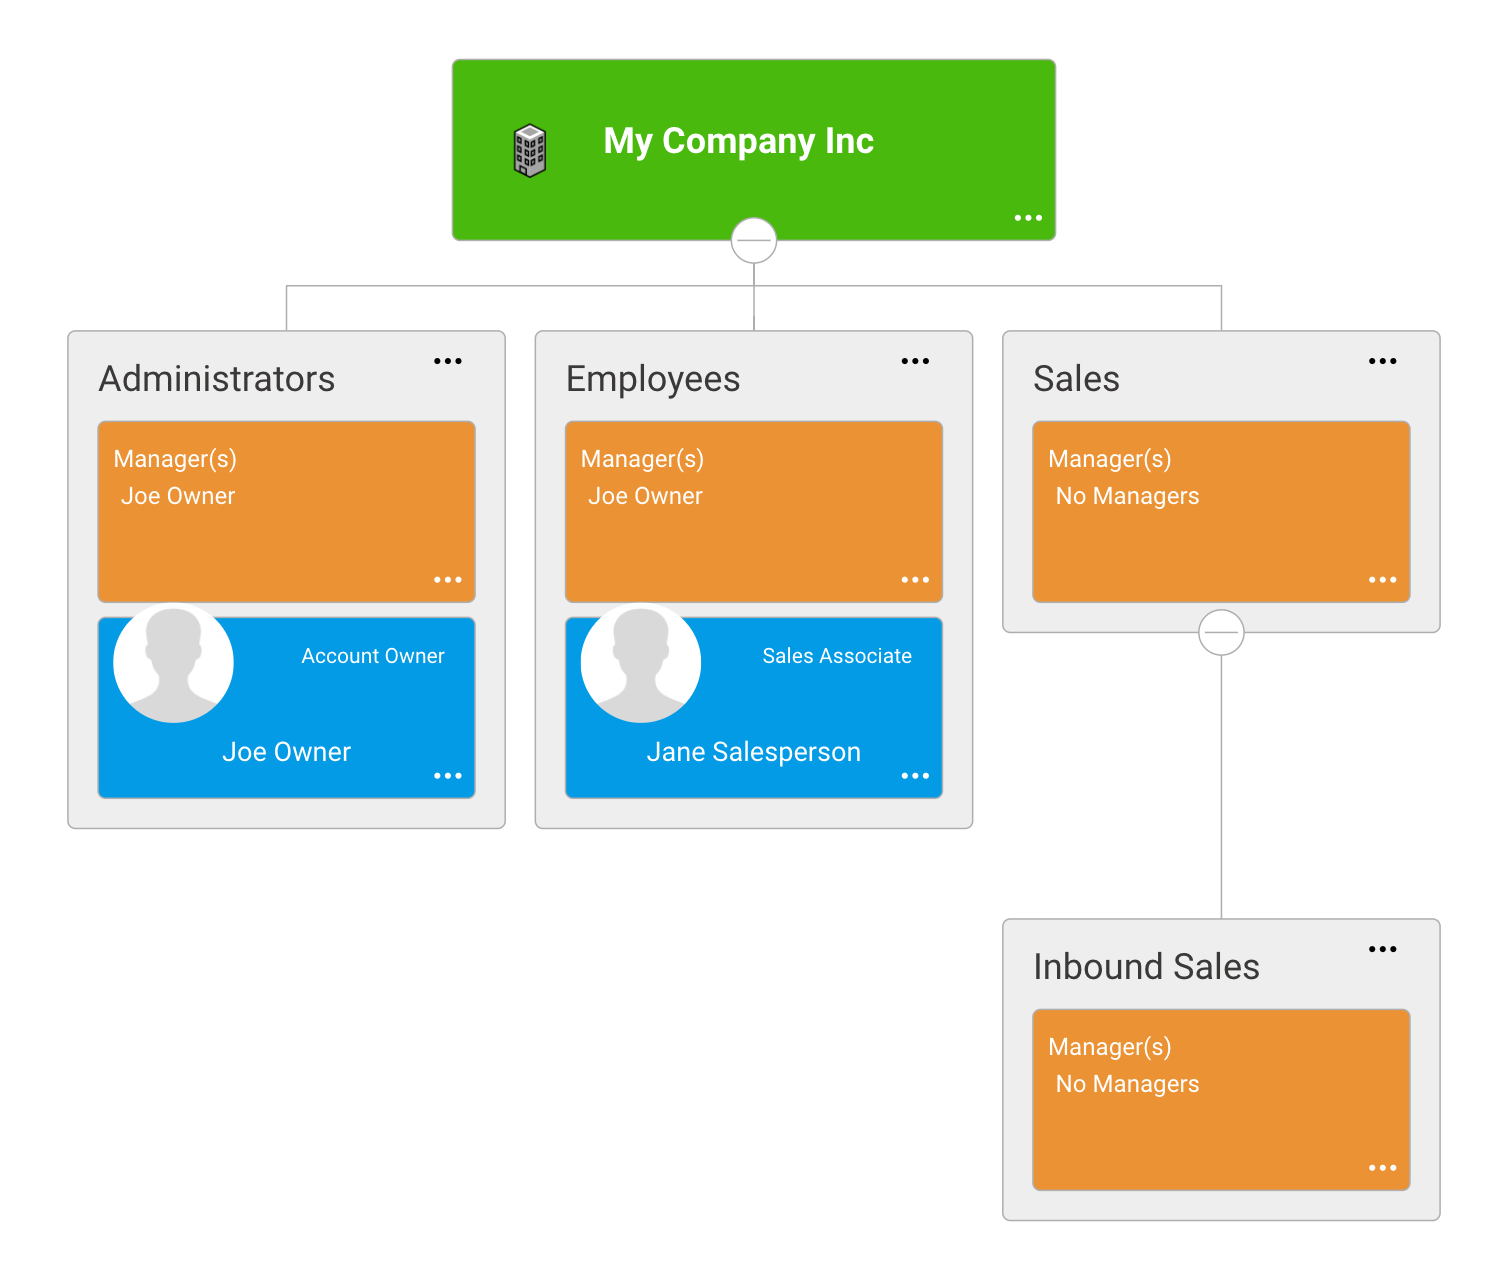
We entered "Inbound Sales" as the Child Department, and now our Org Chart looks like this:
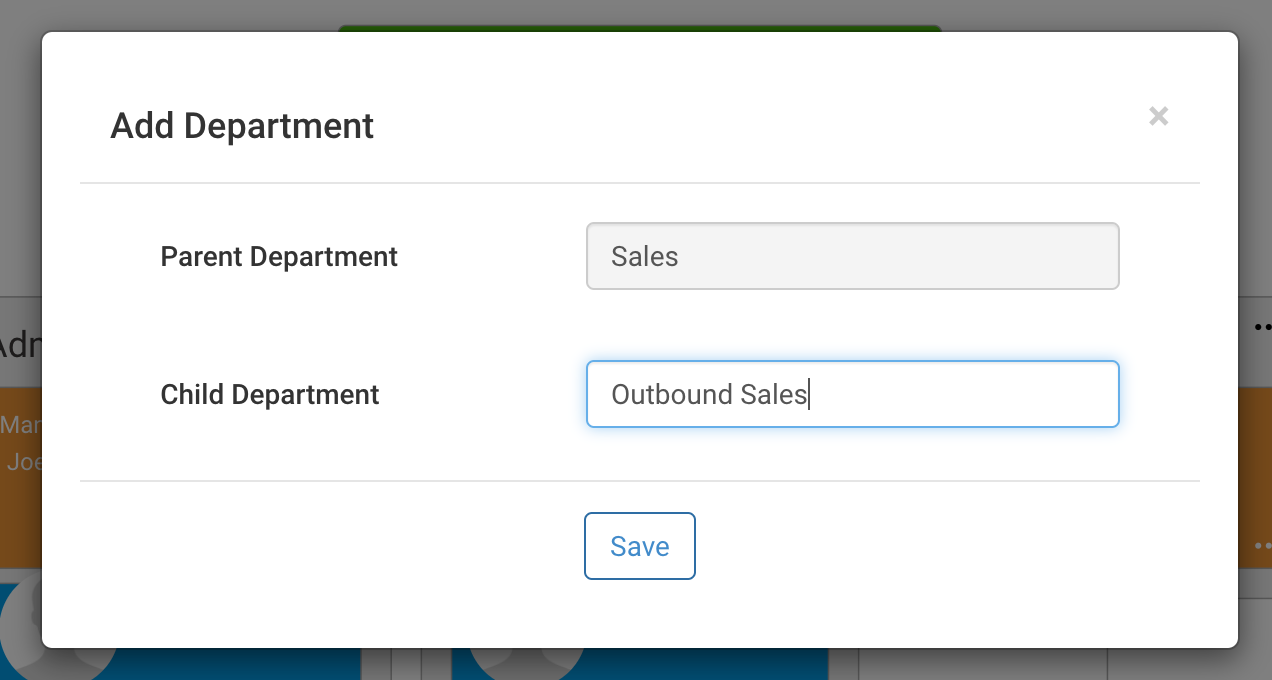
To add our 2nd sub-department under "Sales," follow the steps above and add Outbound Sales.
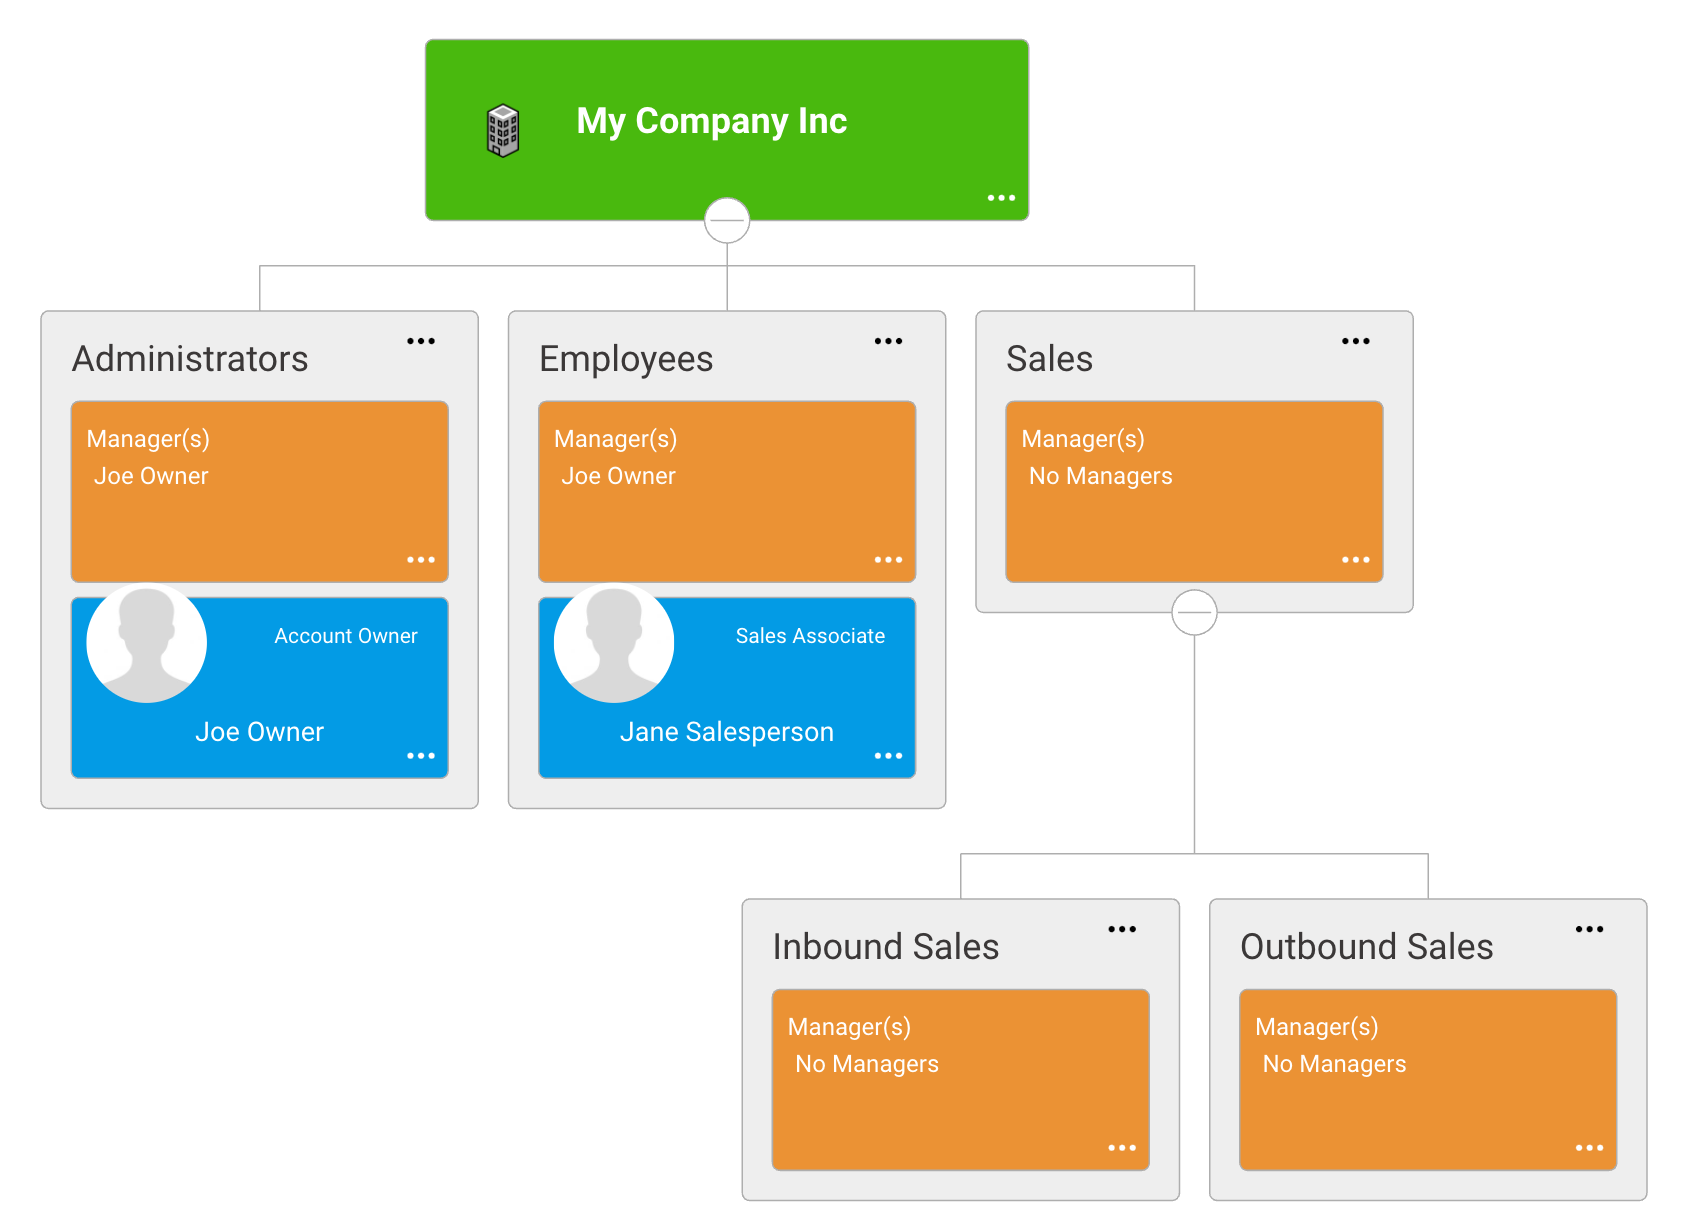
This is our completed Org Chart with both of the departments under Sales.
If desired, you can add your employee's pertinent information now, by clicking on the "Add Employee" menu item in the More (...) menu on each appropriate department as shown below. But for our purposes, we will explain that step in the article titled "Add Employees."